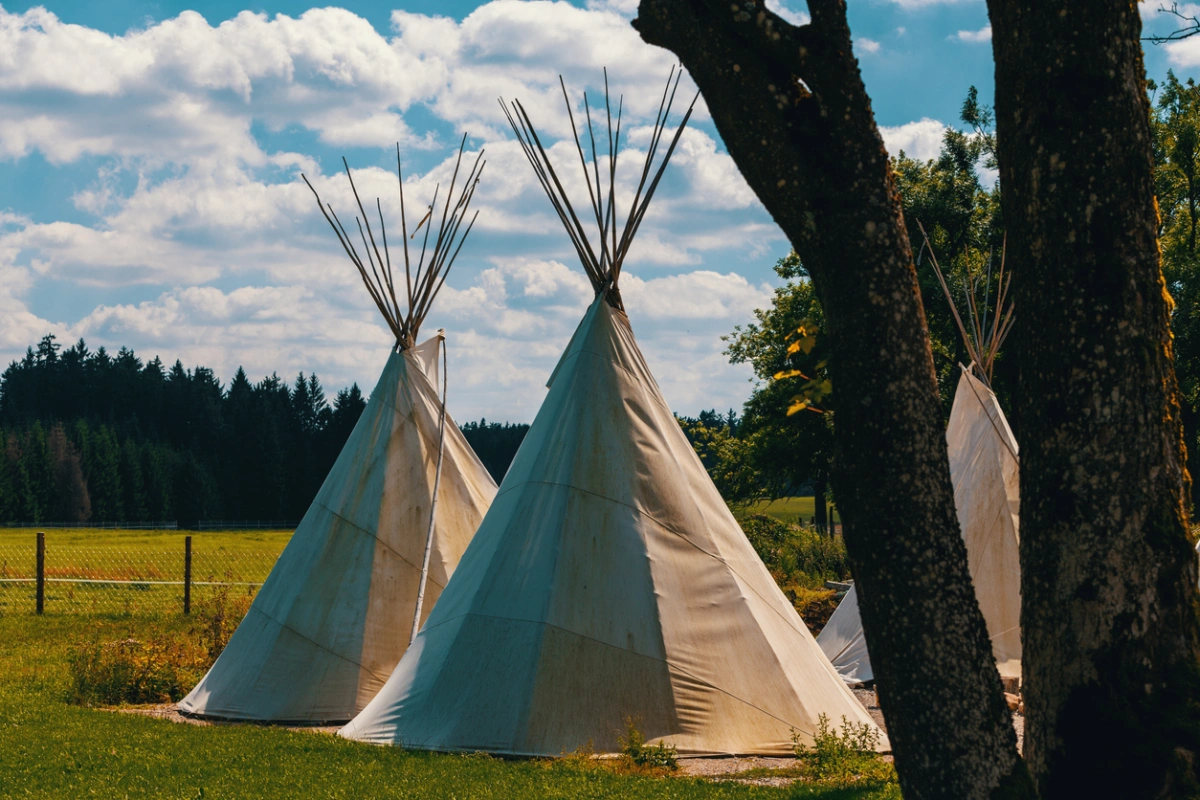
Teepees are iconic conical tents traditionally used by Native Americans and some Indigenous communities. Originally constructed from poles lashed together at the top and covered with buffalo hides, these ingenious dwellings provided shelter from the elements. The poles were secured with ropes during cold weather and stakes during strong winds.
Building your own teepee is a fun and rewarding project, and it can be surprisingly simple! Here’s a guide to creating a teepee using either natural materials or canvas.
Materials Needed:
For a branch and leaf teepee:
- Sturdy sticks of varying sizes (consider the length needed for your desired teepee height and a few extra for stability)
- Strong vines or thick twine for lashing
- Leaves, tall grass, and small pine branches (enough to fill the gaps between the main support structure)
For a canvas teepee:
- Canvas material (around 10 feet long, but adjust based on your desired teepee size)
Rope or twine for sewing and securing the canvas - Twelve poles (sturdy and relatively long, ideally exceeding your desired teepee height)
- Additional scraps of canvas (optional, for reinforcing hems and creating pockets)
Building a Teepee with Branches and Leaves:
- Choose Your Location: Find a level, clear area with enough space for your desired teepee size. Look for a spot with firm ground suitable for anchoring your support sticks. Avoid areas with dead or dying trees that could become hazards in windy conditions.
- Construct the Frame: Select several long, sturdy sticks and lash them together securely at the top using strong vines or thick twine. A tripod lashing technique is a good option for stability. Spread the bottoms of the sticks out in a circle and push them firmly into the ground for stability. You can wedge flat rocks around the base of each stick for added reinforcement.
- Create the Doorway: Leave a designated opening in the frame to act as the entrance. Consider the prevailing winds in your area when positioning the doorway for optimal comfort.
- Weave the Walls: Use medium-sized branches to tightly weave a latticework between the main support poles. Fill any gaps with leafy branches, tall grass, small pine boughs, and leaves. Aim for a dense weave that provides good wind protection and privacy.
- Craft the Floor: Line the teepee floor with a layer of soft pine branches followed by a layer of comfortable leaves. Pine needles provide a natural cushion and insulation, while leaves add another layer of comfort.
- Make the Door: Weave leaves, tall grass, and pine branches together to create a flexible “curtain” door. This door can be hung over the entrance from the inside. Consider adding ties or loops to the door for easy opening and closing.
Building a Teepee with Canvas:
- Cut the Canvas: Cut the canvas into two large semicircles, each approximately 10 feet long (or longer if you want a taller teepee).
- Create the Door Flaps: On each semicircle, cut out two central flaps and a semicircular doorway. When sewn together, these will create a rounded door opening.
- Hem the Doorway: At the doorway ends, create pockets using additional canvas scraps. Insert weighted sticks into these pockets to weigh down the door and keep it closed. Sew these pockets shut to secure them to the main canvas.
- Make Smoke Flaps (Optional): Create pouches at the top of the teepee (the apex) to allow smoke to escape if you plan on using the teepee for fires. You can use additional canvas to support these flaps.
- Build the Tripod: Lash together at least twelve poles to form a sturdy tripod. Ensure the lashings are tight and secure, as the tripod will bear the weight of the canvas cover.
- Assemble the Frame: Add the tripod structure to the canvas frame, ensuring it covers any gaps and creates the final conical shape. You may need to tie or sew the canvas to the tripod poles for a secure fit.
- Cover the Teepee: Drape the prepared canvas over the tripod structure and secure it tightly. You can use rope or twine to tie the canvas around the base of the teepee and at various points along the frame for stability.
Congratulations! Your teepee is complete and ready to be used. It can comfortably accommodate two to three people.
Additional Tips:
- When selecting branches for your teepee, ensure they are dry, free of rot or pests, and relatively straight for easier construction.
- You can adjust the size of your teepee depending on your needs and available materials. Start with a smaller teepee if it’s your first attempt, and gradually increase the size as you gain experience.
- For added comfort, consider adding a sleeping mat or blankets inside the teepee. You can also add a waterproof tarp or layer of plastic sheeting underneath the teepee floor to provide extra protection from moisture.
Conclusion
In conclusion, building a teepee is a fun and educational project that transcends generations. It’s a chance to connect with the past, understand the ingenuity of Native American and Indigenous communities, and appreciate the functionality of simple structures. Whether you choose the rustic charm of natural materials or the practicality of canvas, you’ll end up with a cozy hideaway that fosters creativity and connection. Imagine using your teepee for storytelling nights under the stars, a relaxing reading nook, or a haven for imaginative play. The possibilities are endless! So grab your tools, channel your inner explorer, and get creative – the great outdoors awaits, ready to provide the backdrop for countless adventures in your new teepee.


