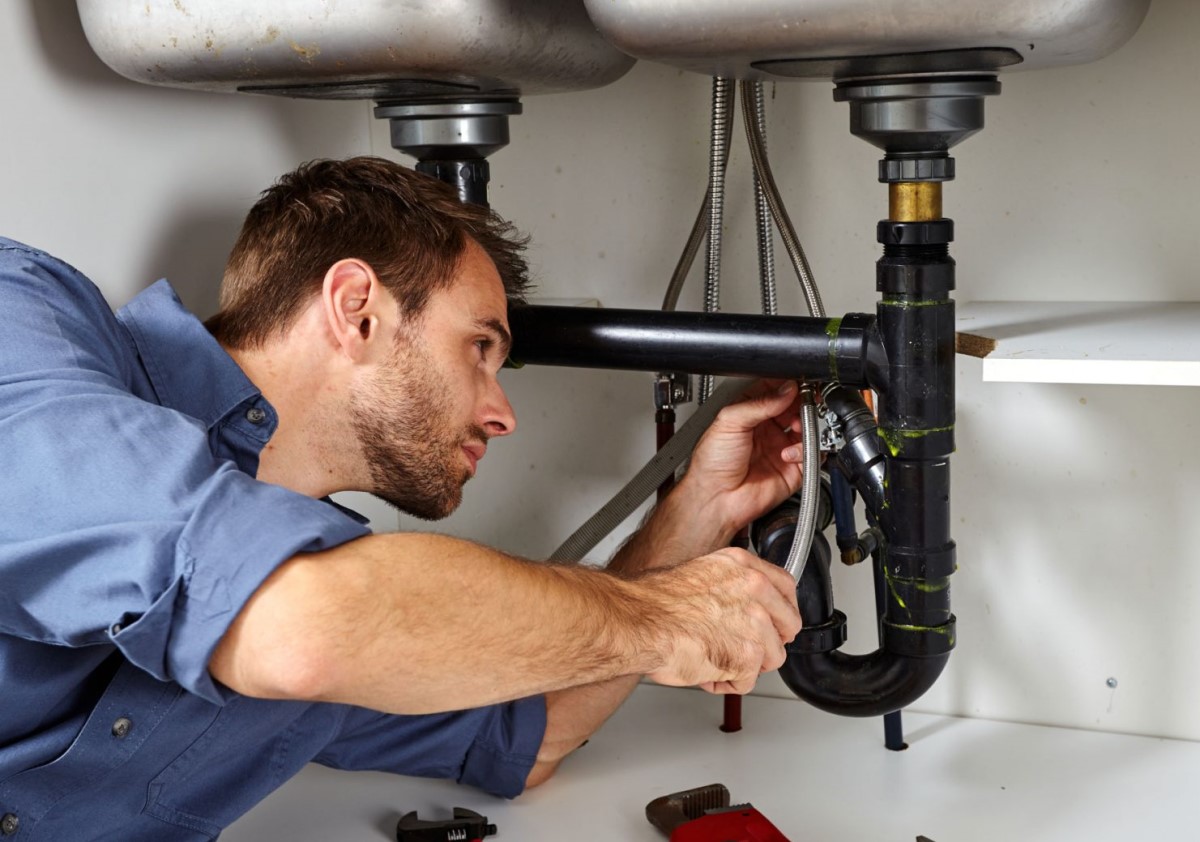
Having a basic understanding of plumbing can be extremely helpful for tackling minor leaks in your house’s drain pipes. This can save you money and the hassle of calling a plumber for every drip or trickle. But before you dive into repairs, assess the situation and be honest about your DIY skills. If the leak seems complex or beyond your comfort level, don’t hesitate to call in a professional.
Gathering Your Arsenal:
For those willing to tackle minor drain leaks, here’s what you’ll need to have on hand:
- Tools: Adjustable wrench, screwdriver, putty knife (optional for applying sealant), flashlight.
- Materials: Replacement washers (various sizes), waterproof sealant, thread tape, P-trap (for horizontal drains) or T-trap (for vertical drains), replacement pipe section (if necessary), sweat coupling (for repairing long pipe sections) – available at most hardware stores.
Getting Down to Work:
- Safety First: Always shut off the water supply before you begin any repairs. Locate the shut-off valve for the sink or area where the leak is coming from and turn off the water supply completely.
- Drain Diagnosis:
- Identify the Drain Type: Kitchen and bathroom drains typically have different sizes, with bathroom drains being narrower. Additionally, drain pipes can be made from various materials like PVC, cast iron, or copper. Knowing the type of drain will help you determine the repair approach and select the appropriate replacement parts, if needed.
- Locate the Leak: With the water supply off, trace the pipe to pinpoint the exact location of the leak. Look for visible cracks, holes, or loose connections. A flashlight can be helpful for inspecting dark or cramped areas under the sink.
- Leak-Specific Solutions:
- Loose Connections: Tighten any loose nuts, couplings, or joints with your wrench. If the leak persists after tightening, apply some thread tape to the threads for a better seal before re-tightening.
- Broken Washers: Replace any worn-out or broken washers with new ones of the appropriate size. Washers create a watertight seal at connection points.
- Cracked or Broken Pipes: For minor cracks, apply a layer of waterproof sealant around the affected area. Make sure the work area is clean and dry for optimal adhesion. For larger cracks or breaks, you’ll need to replace the damaged pipe section. Here’s where the sweat coupling comes in for longer pipe repairs.
- Testing and Wrap-Up: Once you’ve addressed the leak, turn the water supply back on slowly and open the faucet gradually. Carefully inspect the repaired area for any signs of leaks. If the leak persists, you may need to call a professional plumber for further assistance.
Pro-Plumber Tips:
- When replacing washers or applying sealant, ensure the work area is clean and dry for optimal adhesion. A damp cloth can help remove any dirt or debris from the repair area.
- Beyond Leaks: This guide focuses on minor drain leaks. If you encounter a clogged drain, a more involved repair, or extensive pipe damage, don’t hesitate to seek professional help from a qualified plumber. They have the expertise and tools to handle complex plumbing issues efficiently and safely.
By following these steps and using the right tools and materials, you can effectively fix minor leaks in your house drain pipes and save yourself the cost of calling a plumber for every small issue. Remember, when in doubt, consult a professional to avoid causing further damage.


