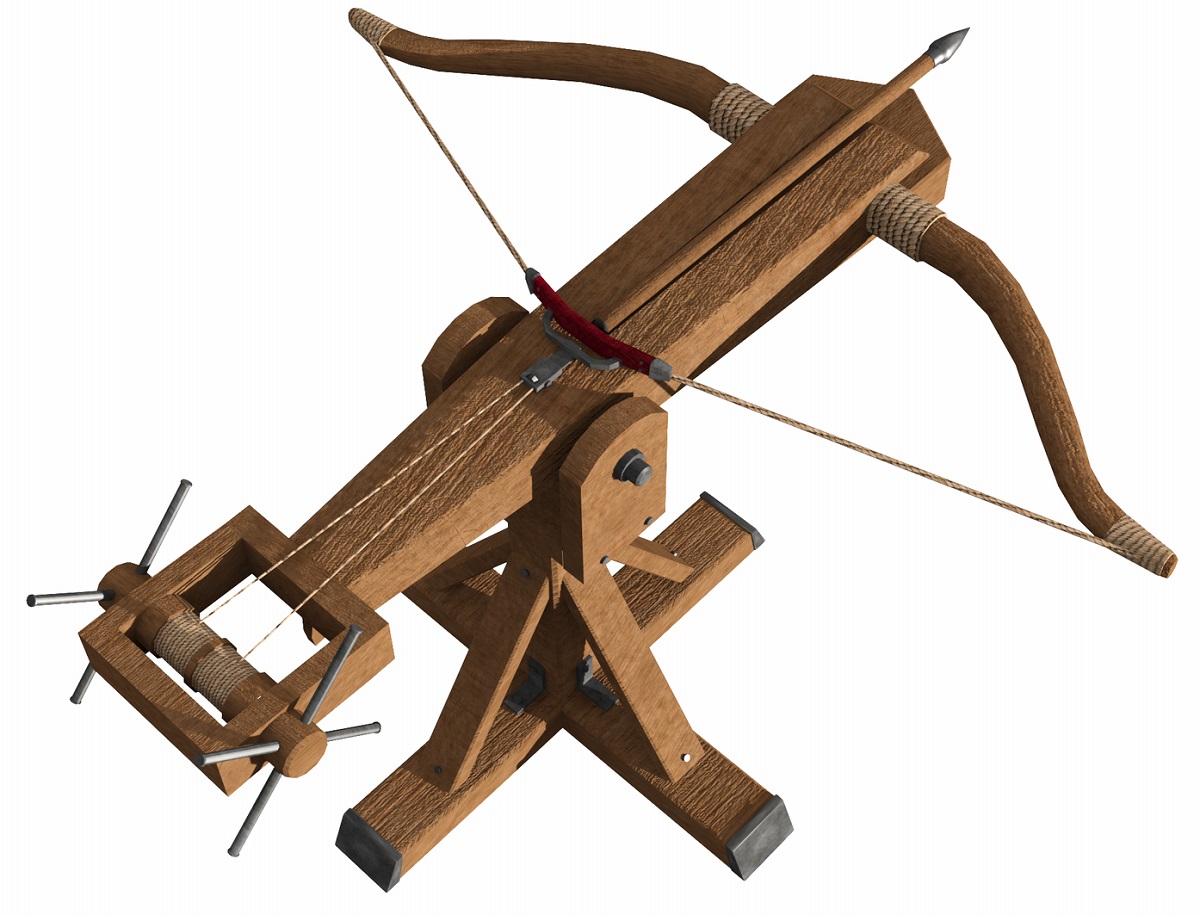
Building a mini ballista is a fantastic and educational project that can spark your curiosity about historical weaponry and basic mechanics. This easy-to-make ballista uses materials you can easily find around the house and is a perfect way to spend a quality afternoon.
Building Your Mini Ballista:
The construction process can be broken down into several manageable steps.
- Crafting the Base:
- The base is the foundation of your ballista. Begin by securing a 3-inch block of wood to a longer piece (around 12 inches) to create a stable L-shaped form. Use nails to firmly connect these two pieces, ensuring the 3-inch block stands upright at the bottom.
2. Constructing the Upright:
- Locate the top center of the base and securely nail a 2-inch x 24-inch block of wood vertically. This upright serves as the backbone of your ballista.
3. Shaping the Firing Arm Notch:
- Next, take a 2-inch x 12-inch block and nail it horizontally onto the top of the 24-inch upright. This creates a T-shaped structure. Ensure the nails are long enough to firmly connect both pieces for stability.
4. Building the Firing Arm:
- Prepare two smaller wooden blocks for the firing arm. Nail the first block onto the horizontal bar of the T-shape, creating a small ledge.
- Stack the second block on top of the first, securing it with a single nail. Position this second block at least 3 inches away from the center of the T-shape to create a designated notch for the firing arm.
5. Attaching the Arm Pivot Point:
- Stability is key! Take another 2-inch x 12-inch block and nail it vertically onto the top two stacked blocks. Use a long nail that goes through all three blocks and into the base for added reinforcement.
6. Creating the Winch System:
- On both sides of the horizontal bar (top of the T-shape), drill holes near the ends. These holes will hold the wooden cylinders (dowels) that act as axles for the rope.
- Insert the dowels into the holes and secure them with washers nailed on either side.
7. Installing the Launch Hooks:
- On the inner side of the horizontal bar, between the cylinder and the stacked blocks, attach a hoop hook on each side. These hooks will hold the rope that launches your projectile.
8. Stringing Up the Winch:
- Thread the rope through both hoop hooks. As you move up the length, begin twisting the rope to create tension, essentially coiling elastic potential energy.
9. Loading the Projectile:
- Sharpen one end of a pencil (or similar thin dowel) to create your projectile.
- Securely tie the blunt end of the pencil into the twisted rope, ensuring it sits snugly in the notch of the firing arm.
10. Crafting the Trigger Mechanism:
- Thread the rope through the washer on one side of the ballista.
- Push a metal pole through the hole in the washer, creating a horizontal lever that will act as your trigger.
11. Securing the Tension and Preparing for Launch:
- Tightly tie the loose ends of the rope to the metal pole, creating a strong winch system that will store the built-up tension. Cut off any excess rope that might hinder the mechanism.
12. Loading Up and Firing!
- Cut several rubber bands or nylon cords to a similar length.
- Secure these tightly to the back (non-pointed) end of your pencil projectile. These elastic bands will provide additional launching power.
13. Testing Your Ballista:
- Safety first! Find a safe and clear outdoor area to test your ballista.
- Ensure the ballista is pointed in a safe direction and then pull down on the metal lever to release the tension, firing your projectile.
Taking Your Ballista to the Next Level:
- Smoothing It Out: Use sandpaper to smoothen any rough edges on your wooden components for a more polished look.
- Personalize Your Ballista: Unleash your creativity! Decorate your ballista with paint or markers to create a unique design.
- Experiment with Projectiles: Try different types and weights of projectiles to see how far they travel. Lighter projectiles will generally travel farther, while heavier ones will pack a greater punch.
- Safety Above All: Always prioritize safety when using your ballista


